A roof replacement is a significant investment for any homeowner, and understanding the timeline of the process can help minimise any concerns or disruptions to your daily life. At Edenbridge Roofing Repairs, based in Edenbridge, Kent, we know that having your roof replaced can seem like a daunting task, but with proper planning and a clear understanding of what to expect, the process can run smoothly and efficiently. In this blog post, we will outline the typical roof replacement timeline, so you know exactly what to expect at each stage of the installation.
1. Initial Inspection and Quotation (1-2 Days)
Before any work begins, a professional roofing contractor will need to conduct a thorough inspection of your current roof. This initial step is crucial as it allows the contractor to assess the condition of the roof, identify any underlying issues, and provide an accurate estimate for the replacement.
- Roof inspection: The contractor will examine the condition of your roof, looking for signs of wear and tear, leaks, or damage that may need attention during the replacement.
- Quotation: After the inspection, you will receive a detailed quotation outlining the scope of the work, including material costs, labour, and the expected timeline for completion.
2. Selecting Materials and Scheduling (1-5 Days)
Once the inspection is complete, the next step is selecting the materials for your new roof. Whether you choose asphalt shingles, slate, or metal roofing, this decision will influence the cost, durability, and appearance of your new roof.
- Material selection: Your contractor will provide you with options based on your budget, preferences, and the specific requirements of your home. This includes deciding on colours, styles, and additional features such as gutters or flashing.
- Scheduling the installation: After finalising the material selection, your contractor will schedule the installation. This may depend on factors such as weather conditions and material availability, but most roof replacements can be scheduled within a week or two.
3. Pre-Installation Preparation (1 Day)
Before the actual replacement begins, your roofing contractor will prepare the site for installation. This step includes protecting your property and ensuring that everything is ready for the work ahead.
- Protecting your property: Tarps and protective coverings are placed over landscaping, outdoor furniture, and other vulnerable areas around your home to prevent damage from falling debris.
- Delivery of materials: Roofing materials and equipment are typically delivered to your home the day before the installation begins, ensuring everything is ready for a seamless start.
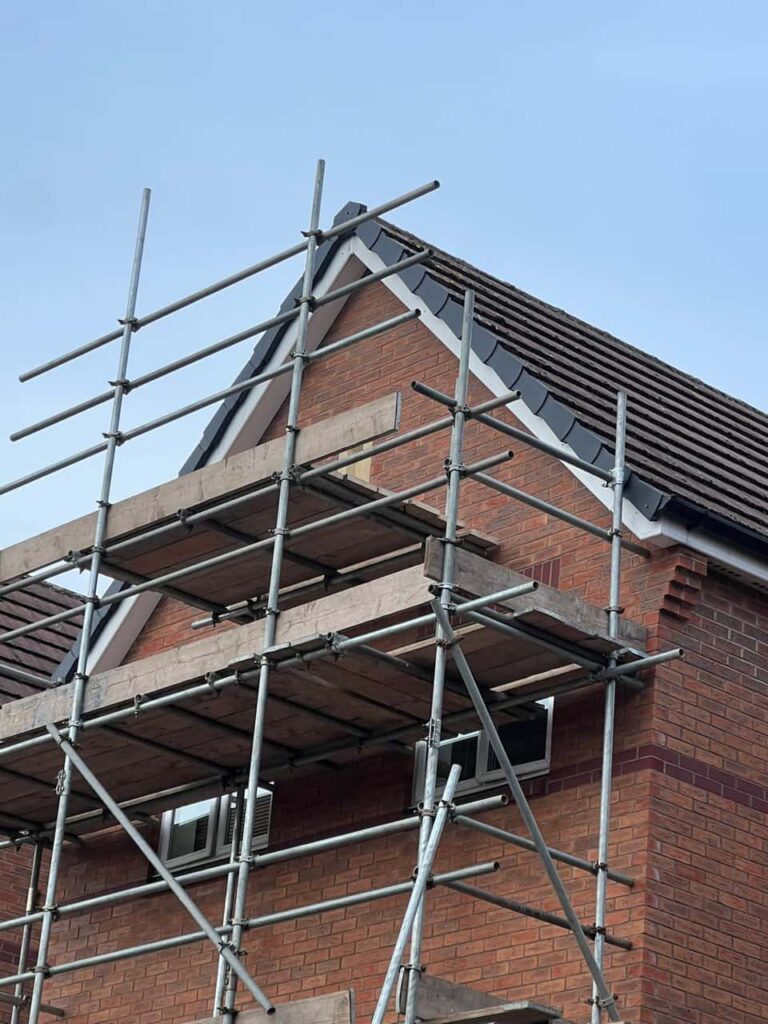
4. Roof Removal (1-2 Days)
The first major step in the roof replacement process is the removal of your old roof. This can take anywhere from one to two days, depending on the size of your roof and the number of layers that need to be removed.
- Tearing off the old roof: Contractors will remove the existing roofing materials, including shingles, underlayment, and flashing. This step is crucial as it allows the contractors to inspect the roof deck for any signs of damage.
- Inspecting the decking: Once the old roof is removed, the contractor will inspect the roof decking for any rot, mould, or structural issues. If any damage is found, repairs will be made before the new roof is installed.
5. Installing the New Roof (2-5 Days)
The installation of your new roof is the most critical phase of the project and typically takes between two to five days, depending on the size and complexity of your roof. During this time, the roofing team will work diligently to ensure your roof is properly installed and meets all building standards.
- Underlayment installation: The first layer of protection for your roof is the underlayment, which provides a waterproof barrier between your home and the elements.
- Installing the new roofing material: Once the underlayment is in place, the new roofing material will be installed. Whether you’ve chosen shingles, tiles, or metal, the team will work systematically to cover the roof, ensuring that each section is properly sealed and aligned.
- Flashings and ventilation: Flashings are installed around chimneys, vents, and valleys to prevent water intrusion, while proper ventilation is added to ensure the longevity and efficiency of your new roof.
6. Final Inspection and Clean-Up (1 Day)
After the installation is complete, a final inspection will be carried out to ensure everything has been done to a high standard. This step is crucial for guaranteeing that your new roof is both aesthetically pleasing and fully functional.
- Inspecting the installation: The contractor will check that all materials have been installed correctly and that there are no defects or issues that need addressing.
- Clean-up: Once the inspection is complete, the team will clean up the site, removing all debris, old roofing materials, and equipment. Magnetic tools will be used to collect stray nails and screws, leaving your property clean and safe.
Conclusion
A roof replacement is a multi-step process that requires careful planning and coordination, but with the right contractor, it can be completed efficiently and with minimal disruption to your daily life. At Edenbridge Roofing Repairs, we are committed to providing high-quality roofing services that meet your needs and exceed your expectations. From the initial inspection to the final clean-up, our team ensures that the entire process is seamless and stress-free.
Call us on: 01732 443 294
Click here to find out more about Edenbridge Roofing Repairs
Click here to complete our contact form and see how we can help with your Roofing needs.